Latest News and Articles – Brompton Junction Melbourne
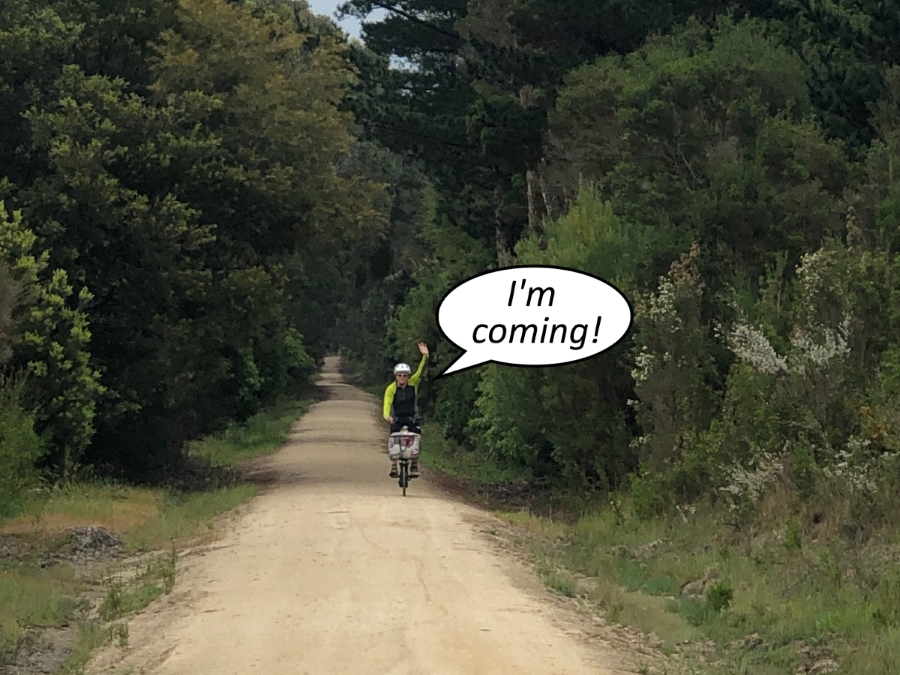
Wait For Me!
Heart pounding, trying not to breath too loudly, wondering why there’s concrete in our tyres when no one else seems to have these problems… We’ve all been there, some of us more often than others. It can be very frustrating – enough to give up riding altogether.
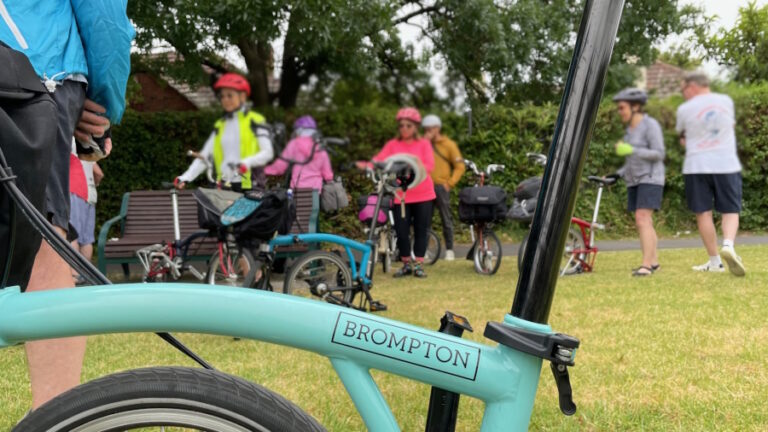
Sometimes the difference between our self and our setup and whomever we’re comparing ourselves to is obvious enough. Age, fitness and ability can be obvious differences, along with what type of bikes you’re comparing. For the purposes of this blog, we’re going to take out one variable and assume everyone is riding a C Line Explore Brompton (What is that? Read here!). Now we’re ready to delve into some other factors!
Your Self
We are not all fit, young 20-somethings with boundless energy. On the upside, you don’t have to be supremely strong or fit to enjoy riding a bike. Develop (or rediscover) your “bike fitness” and bike skills at a steady pace, particularly if you’ve not ridden a bike regularly for the last couple of decades, and you will have a more comfortable and enjoyable experience.
Your Brompton’s setup (ergonomics) also contribute to how comfortably and efficiently you ride. The touch points we can change to provide for more support and/or relief are your grips and saddle. The angle and placement of your saddle, as well as your saddle height, can make a huge difference to both comfort and efficiency. Make sure to let us know if your seatpost is slipping! We can also angle your brake levers and shifters for easier control, and your handlebars for a more comfortable reach if you have the riser bar (Mid/High). Safety first!
Choosing the right handlebar height (Low/Mid/High) is your most important pre-purchase decision as we cannot change/swap this frame part. For a person of average height:
- Low affords a more sporty ride, with less wind resistance but increased pressure on wrists and neck;
- Mid affords an ‘average’ riding position, comfortable for most people over short to longer distances, with less pressure on wrists and neck; and
- High affords a relaxed, upright riding position, where it’s easier to look around but you catch more wind.
See also: Which Brompton Is Right For Me
Changing Gears
Let’s say you are fit and you are 20-something – but you’re getting a workout while these oldies are just cruising along? What gives?!
Perhaps you’ve yet to master how to use your gears efficiently. Learning to use your gears efficiently and riding efficiently are both skills that need practice, but will extend your endurance and average pace (speed). Our previous blog may helpful [Changing gears on a 6 speed Brompton] but you might also find a coaching session with a professional teacher beneficial, too.
Bike Maintenance
Everyone has days where they stop to check for a flat tyre they’re absolutely positive they must have because everything just… feels… so… hard! So often it’s not a puncture (phew! but – damn!) but if you get this feeling regularly, here are some other easy checks to do:
- Tyre pressure – you may not have a puncture, but if you’re riding with under-inflated tyres your chances of a puncture are higher. This may be from something sharp piercing the tyre, pinching the tube against the rim going over a bump, or stressing the tube. We recommend topping up your tyre pressure regularly (weekly-fortnightly) using a pump with a pressure gauge, or before every ride if your rides are less frequent. Generally, if you top up to about 90psi (6bar) you’ll be fine. Most Brompton tyres have a recommended pressure range of 65-110psi (4.5-7.5bar). It’s normal for stock tyres and tubes to lose up to 10psi over the course of a week.
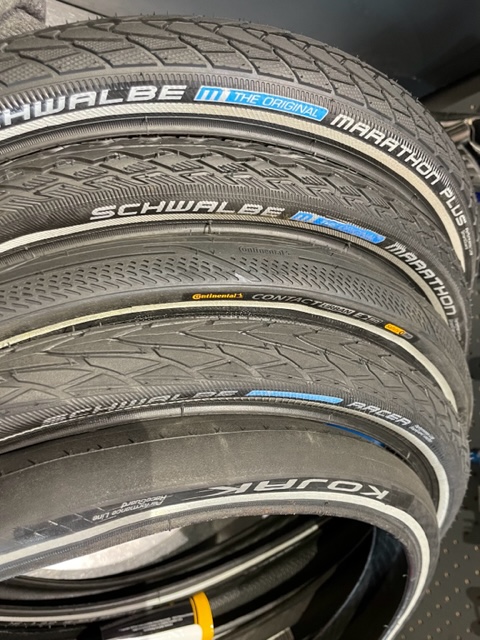
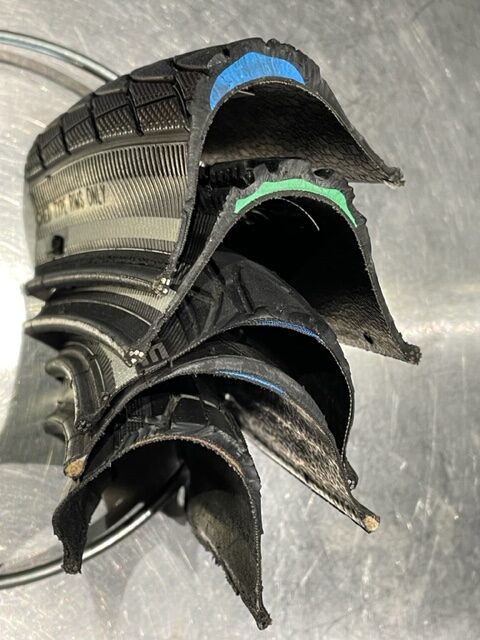
- Tyres – Schwalbe tyres with more puncture resistance are great at preventing punctures, but they’re also heavier than the stock Racer, and are far easier to misjudge how much tyre pressure they have due to the thicker sidewall. If you’re the only one riding on Marathon Plus tyres, and everyone else has Racers/Kojacks/Contact Urbans, then yes, you’re going to need to put in a little more effort.
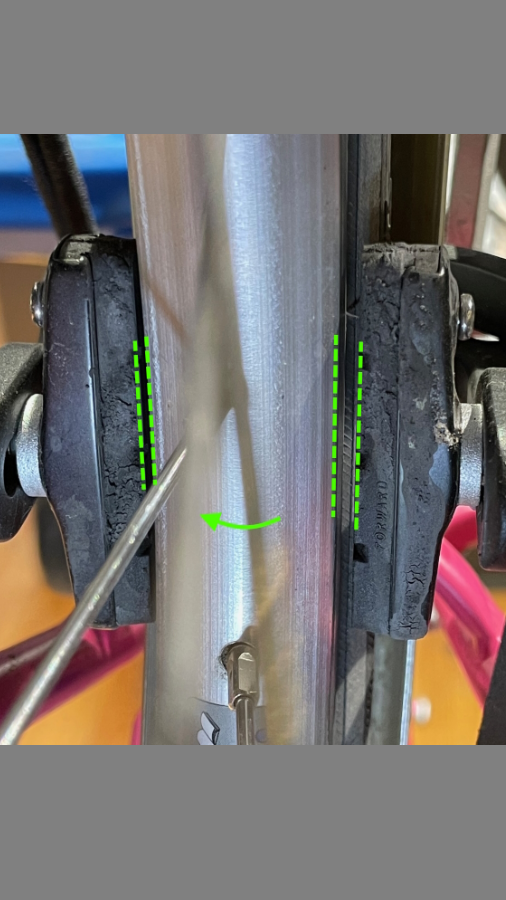
- Brakes rubbing – do both wheels spin freely? Lift one at a time and give it a spin. The front should spin freely without noise; the rear should make the usual ticking noises in the hub (if you have hub gears!), but nothing else. Both should spin easily before gradually coming to a stop. Whirring or rubbing sounds should be investigated asap. Your brake pads should not contact your rim until you squeeze the brake lever and should never come in contact with your tyre. If the brake pad touches your tyre you risk causing a blow-out. Please come in asap to have your bike checked.
- Mudguard struts – if, as described above, you spin your wheel/s and hear a whirring/grinding sound, you might identify the source as the mudguard or mudguard struts. These are basically steel wires that can be pushed/pulled back into shape to ensure the mudguard and strut/s clear the tyre.
- Gearing – are you using all of your gears and do you still have 1st hub gear? If the lock nut on your indicator chain has loosened off you might not have all three hub gears. How to adjust/index your gears? Read and watch here or come along to our next Brompton Maintenance Session for hands-on practice!
Load
Everything your bike carries – you, luggage, lights, racks, nicknacks – needs to be pushed around. The lighter your load, the less effort required to push it (particularly uphill or into a breeze), and the slower various components will wear out – e.g. brakes. There can be a trade-off between weight, comfort and usability, particularly over longer distances. What you choose will depend on your priorities.
Need further advice or just want your bike checked over? No worries! Come in or reach out to our friendly team.